
How to Build and Ship a Mobile App From Your Phone With No Code
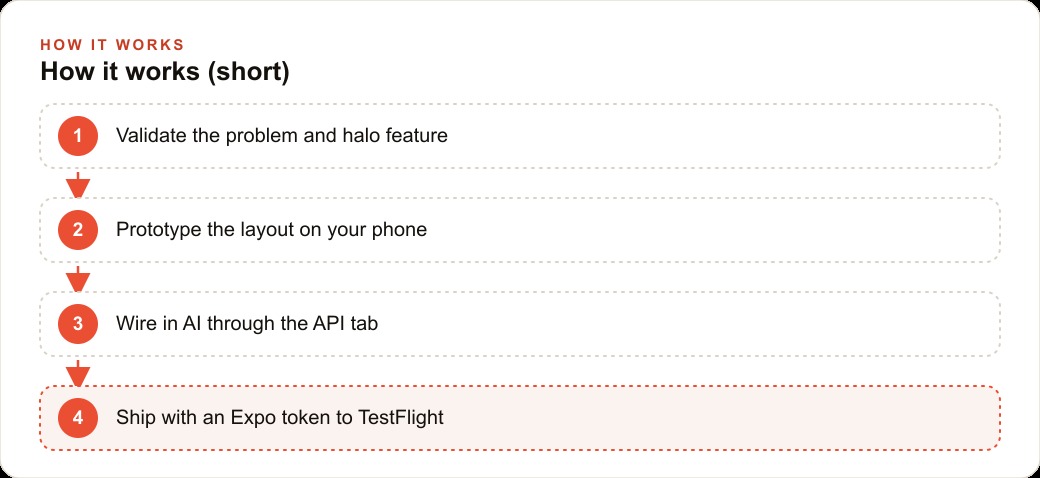
You can take an app idea and get it onto the App Store without writing a line of code, working only from your phone. Here is the full path: validate with a worksheet and Sensor Tower, prototype the layout, wire in real AI through the API tab, then ship with an Expo token and a TestFlight link.

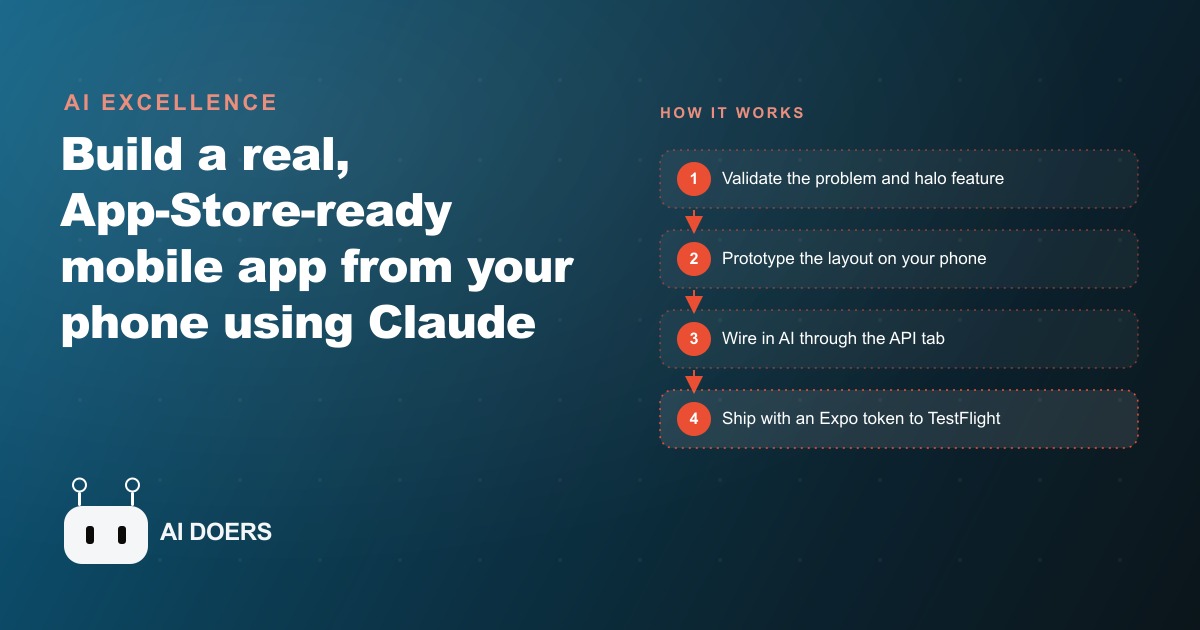
I have been testing mobile app builders for a while, and the one I want to walk through here does something the others have not managed: it runs directly on your phone, it uses a real AI agent to do the building, and you can get from a blank idea to a TestFlight link without touching a laptop or writing a single line of code. I am going to walk you through the complete playbook, step by step, and at the end I will show you how this maps to a real local business that used it to generate measurable additional revenue.
The tool is called Vibe Code, and it runs an AI coding agent under the hood that responds to plain English. The output is a real app that can ship to the App Store or Google Play, not a prototype that lives in a builder preview. Every step in this playbook matters in the order it is described, because the most common failures happen when people skip the early validation steps and start building too soon, or when they try to wire in AI before the layout is correct.
Validate the problem before you open any builder
The single most important decision in this entire process is made before you open any app. It is deciding whether the problem you are solving is real enough to justify the time, and whether enough people have it that an app can find an audience. Most people skip this step because it is less exciting than building, and most apps that fail do so because of exactly that skip.
A worksheet forces this thinking with four questions. First: what is the one specific problem this app solves? The answer should be a sentence, not a paragraph. If it takes a paragraph to describe the problem, the idea is not focused enough yet. Second: is this problem something people would search for a solution to, or would they accept it as a permanent inconvenience? Third: does the app have a halo feature? Fourth: does solving the problem require a major change in the user's existing behavior?
Each question does a specific job. The first forces focus. The second filters for problems people actually want solved versus problems they live with passively. The third identifies the standout capability that makes the app worth telling a friend about. The fourth filters out ideas that require users to adopt a completely new habit, which is very hard and very slow. The best apps slot into a behavior that already exists and make it better or faster. If the user has to change what they do, not just how they do it, the adoption curve becomes very steep.
The halo feature question is the hardest and most important step
A halo feature is the single thing the app does that makes someone who has never heard of it immediately understand why they would want it. It has a specific structure: it takes something that currently requires multiple steps or meaningful effort and replaces it with one simple action. A food tracker that requires manually logging every ingredient is not halo-worthy. A food tracker where you photograph the meal and the macros appear instantly is. The difference is one action versus many, and the immediacy of the result.
Testing whether your halo feature is strong enough is simple. Describe it out loud to someone who fits the audience you are targeting. If their first response is something like that is actually useful, I would use that, the halo is working. If their response is I guess, but I already have something for that, the feature is not differentiated enough. If their response is wait, it can actually do that, the halo is very strong.
For most local service businesses, the halo feature lives in the estimate or quote process. People dislike waiting for quotes. Anything that makes the quote faster, more visual, or more interactive has a natural halo quality for a business where the estimate is the first moment of trust with a customer. That is the direction worth exploring before any other.
Use Sensor Tower to confirm the category can actually pay before you invest time
Before you write a prompt or open Vibe Code, check whether the category your app is in generates real revenue. Sensor Tower is the tool for this. It shows revenue estimates for the top apps in any category, which tells you whether the audience is willing to pay before you build for them.
The benchmark to look for is whether the top apps in your category generate meaningful monthly revenue. A food tracking app called Cal AI clears roughly two million dollars in revenue per month. That number tells you two things: the audience exists and the audience pays. If the category you are targeting shows top apps generating almost nothing, the audience either does not exist at the scale needed or is not willing to pay for a solution. You can still build a tool for your own customers, where the economics work differently, but you go in with eyes open about the revenue ceiling.
The Sensor Tower check takes about ten minutes and is the most efficient filter in the process. Many ideas that survive the worksheet do not survive a category check, which is far better than finding out after you have spent two weeks building.
Prototype the screens before wiring any AI integration
With a validated idea and a clear halo feature, the next step is building the layout of the app before connecting any AI or external data source. This step feels counterintuitive because the AI integration is usually the exciting part, but getting the layout right before wiring anything is consistently faster than building layout and AI together.
Open Vibe Code and describe the app's screens in plain language. Be specific about what each screen contains: the input fields, the buttons, the labels, the overall flow. The agent builds a first version and shows it to you. This is the prototype stage, and the goal is to get the layout feeling correct before anything is functional.
If the prototype has the wrong number of fields, or the buttons are in a confusing order, or the overall flow feels unclear, you correct it now rather than after the AI is wired in and changes to the layout are more disruptive. The prototype should feel obvious to someone who has never seen it before. If you have to explain what to tap first, something is wrong and needs to be simplified before moving forward.
Edit by pinching the screen and typing changes in plain English
The editing mechanic in Vibe Code is physical and immediate. You pinch inward from both edges of the phone screen to enter edit mode. Once in edit mode, you type what you want changed in plain language. Simplify this section. Remove the toggles. Make the primary button larger and put it at the bottom of the screen. Move the result display above the input form.
Each instruction causes the agent to rebuild that section of the app. If the result is not quite right, you describe the adjustment and it rebuilds again. This cycle is fast, typically under a minute per change, and it means you can iterate through many design decisions in a single session without needing to understand any underlying code.
The key discipline during this editing phase is to hold to the one-task-at-a-time principle. Change one thing, confirm it is right, then move to the next change. Making five simultaneous changes to the layout in one instruction sometimes produces a version that is better in two of the five and worse in the other three, which is harder to undo clearly than making one change at a time. Moving carefully here means you reach the correct layout faster overall.
Wire the AI through the API tab only after the layout is right
Once the layout is stable and feels correct, open the API tab inside Vibe Code. This is where you connect real intelligence to the app. For an image-based halo feature, the API tab is where you specify which service handles the image recognition or generation. For a text-based halo feature, it is where you connect the language model that processes the input and produces the output the user sees.
For a photo-based halo feature, the connection looks like this: the camera screen captures the photo, the API tab connects to the processing service, and the result screen displays the output. The agent handles the actual calls without any manual code. You configure which service to use, provide the credentials through the API tab's interface, and describe what the output should look like.
Test the AI connection on real inputs immediately after wiring it. Use your phone to capture the kind of image or input the app will actually be used for and check whether the output is useful. The first few outputs will often need prompt adjustments, which you make through the same plain English editing process. This is the iterative phase of the AI integration, and it is normal for it to take a few cycles before the output is consistently good enough to show to someone else.
Generate your icons and sounds inside the app without leaving the builder
A detail that saves a surprising amount of time is that Vibe Code can generate the app's icons, sound effects, and haptics from within the builder. You do not need to source these from an external service or a designer. You describe what you want, the agent generates it, and you review it in context.
For icons, describe the style: flat, three-dimensional, cartoon, minimal. Describe the subject if there is one and the color scheme if you have brand colors. The generator produces options and you select or iterate. For sound effects, describe the moment: a soft success chime when a result appears, a subtle tap confirmation when a form field is accepted. The haptic feedback is configured the same way, through a plain description of the intended experience rather than any technical parameter.
Getting these right takes a single session of 30 to 60 minutes and produces a finished feel that significantly improves first impressions. An app with polished icons, appropriate sound, and consistent haptics feels built and considered rather than rough. That impression matters when someone decides whether to trust the tool enough to use it with a customer.
Submit with an Expo token and share a TestFlight link before App Store review
When the app is ready for real testing, the submission process starts with generating an app icon, which the builder handles the same way it handles other assets. Then you grab an Expo access token from a free Expo account, paste it into the build configuration field, and start the build. The builder packages the app and within minutes generates a TestFlight link that real people can install directly on their phones without going through the App Store review process.
Share this link with five to ten people who fit the intended audience before submitting to the App Store. Watch them use it without explaining how anything works. The places where they hesitate, tap the wrong element, or get confused are the places the layout needs adjustment. Fix those friction points before submitting to Apple, because the review process takes several days and each resubmission costs additional waiting time.
Before submitting, add the final supporting materials: App Store screenshots, a description written in plain language focused on the halo feature, and a privacy policy. The privacy policy needs to exist and be publicly accessible for the submission to go through. Both the description and the policy can be generated by describing what the app does to an AI writing tool, then reviewing the output for accuracy before including it.
The electrician estimate app: a concrete example with numbers
Here is how this playbook played out for a specific type of business: an electrician handling five estimates per day, closing around 30 percent of them, and losing work in the days after the estimate because the follow-up happened too slowly.
The halo feature was photograph the job, answer two prompts about scope, and receive a ballpark estimate range that can be shown to the customer immediately on site. The worksheet confirmed the problem was real: customers consistently described waiting multiple days for quotes as the main reason they moved on to another provider. Sensor Tower confirmed that contractor and home-improvement tools generate substantial revenue from paying users, so the category can pay.
The prototype showed three screens: a camera capture screen, a two-question scope clarification screen, and an estimate results screen with a range and a save-to-contact option. The AI connection was made through the API tab, using a language model to process the scope inputs and the job description generated from the photo. The icons and sounds were generated inside the builder in one session. A TestFlight link went to three other contractors for one week of real use before App Store submission.
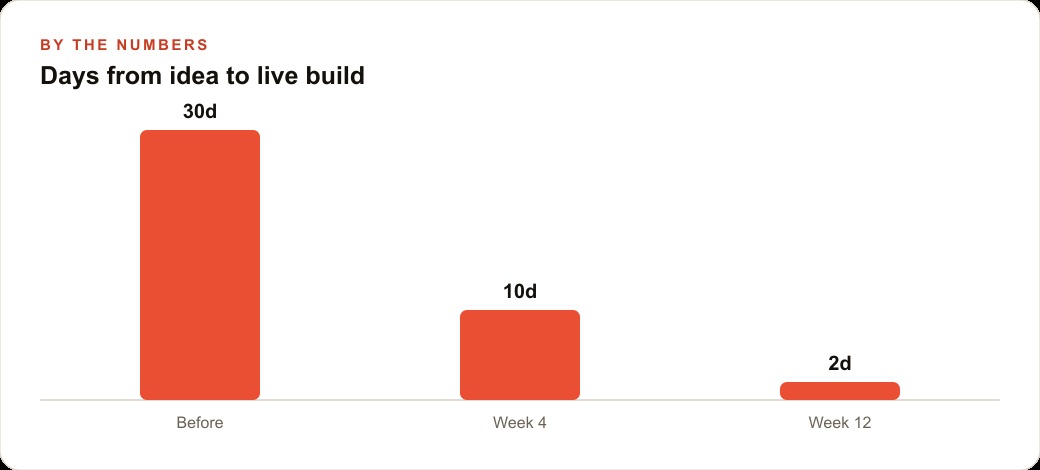
The improvement in close rate came not from the estimate itself but from the follow-up the app made automatic. Every estimate was saved with the customer's contact details, so the next-morning follow-up call happened every time instead of when there was time. The close rate moved from 30 percent to approximately 40 percent over two months. Five estimates per day, at a 10 percentage point improvement in close rate, is roughly half a job per day more. Over a month, that is about two additional closed jobs. At an average ticket of 800 dollars, that is 1,600 dollars per month in additional revenue against a tool running cost under 100 dollars per month. The TestFlight beta took about ten days from first build to first real user test, and the app shipped to the App Store within that same week.
What happens after the first version ships
The first version is rarely the final version, and the phone-first workflow makes iteration fast enough that this is not a problem. Each time a user does something unexpected, or the estimate range is off for a particular type of job, the adjustment is a plain English edit and a new build. The version history is available and the previous version is recoverable if a change makes things worse.
The pattern of iteration is predictable. The first version handles the common case correctly. The second version handles the two or three edge cases real users surfaced. The third version is what most users experience as the finished product. In traditional development that iteration takes weeks or months and costs meaningfully at each stage. In this workflow it takes days and the incremental cost is minimal. That compression is the real competitive advantage, and it applies not just to the first app but to every iteration afterward.
The businesses that get the most from this approach are not necessarily the ones with the most technical knowledge. They are the ones that know their customers well enough to identify a real problem, can describe a halo feature that solves it in one simple action, and are willing to test with real users before they consider the job done. The tooling now makes the building part the easy part. Choosing the right problem and testing the right solution remain the work that separates an app people actually use from one that was interesting to build.
That is exactly what we do at AI DOERS. Book a private 30-minute call with Madhuranjan Kumar and we will map the fastest path to it for your specific business.
Book your call →
Madhuranjan Kumar
Madhuranjan Kumar brings 20 years of performance-marketing experience and has managed over $200 million in Facebook ad spend for brands across the United States and beyond. His expertise spans the full modern marketing stack: Meta, Google Ads, TikTok, email automation, CRM, and the websites that hold it together. At AI DOERS he turns that track record into lead-generation systems for businesses across every industry.